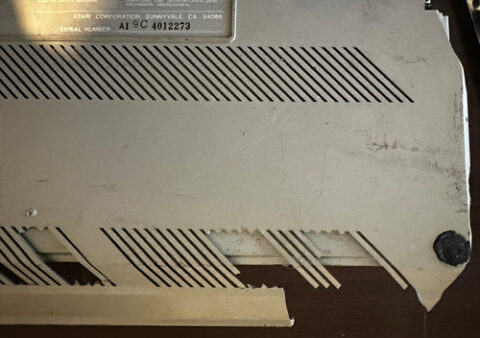
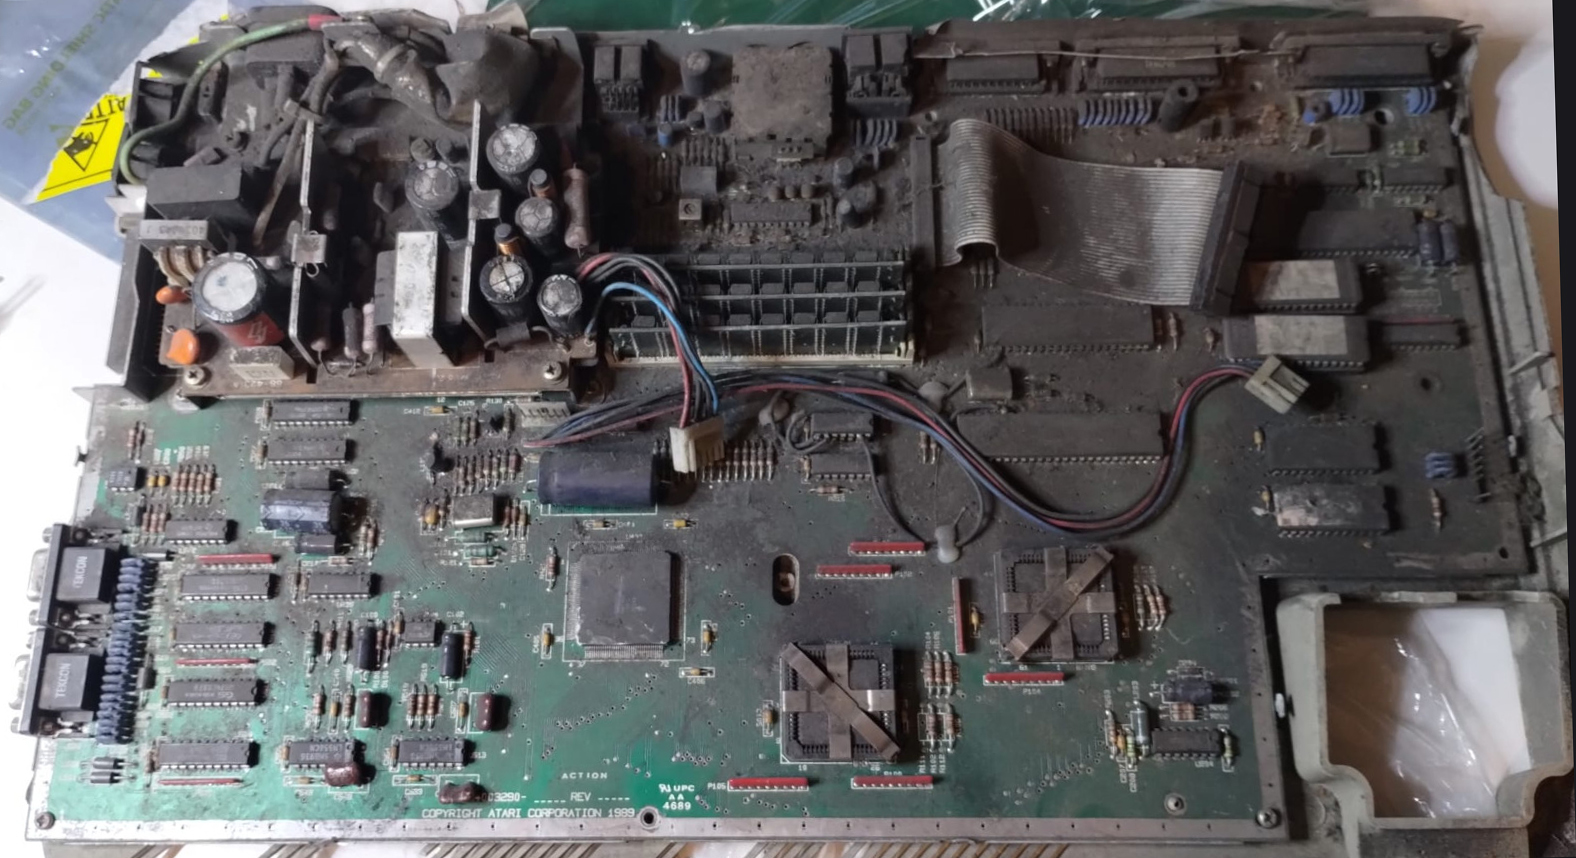
One day a friend of mine boasted that he had a complete Atari STE that he was going to run and an STE motherboard in unknown condition rescued from the trash. We agreed that if he got his Atari running I would buy this motherboard back from him. This is what happened 🙂 In what condition the colleague received it you can see in the photo above. To me it arrived cleaned of course 🙂 The whole thing consisted of a broken lower case, bent lower screen, motherboard and power supply.
Time to make the dream of owning an Atari ST come true! Let’s get to work! 🙂
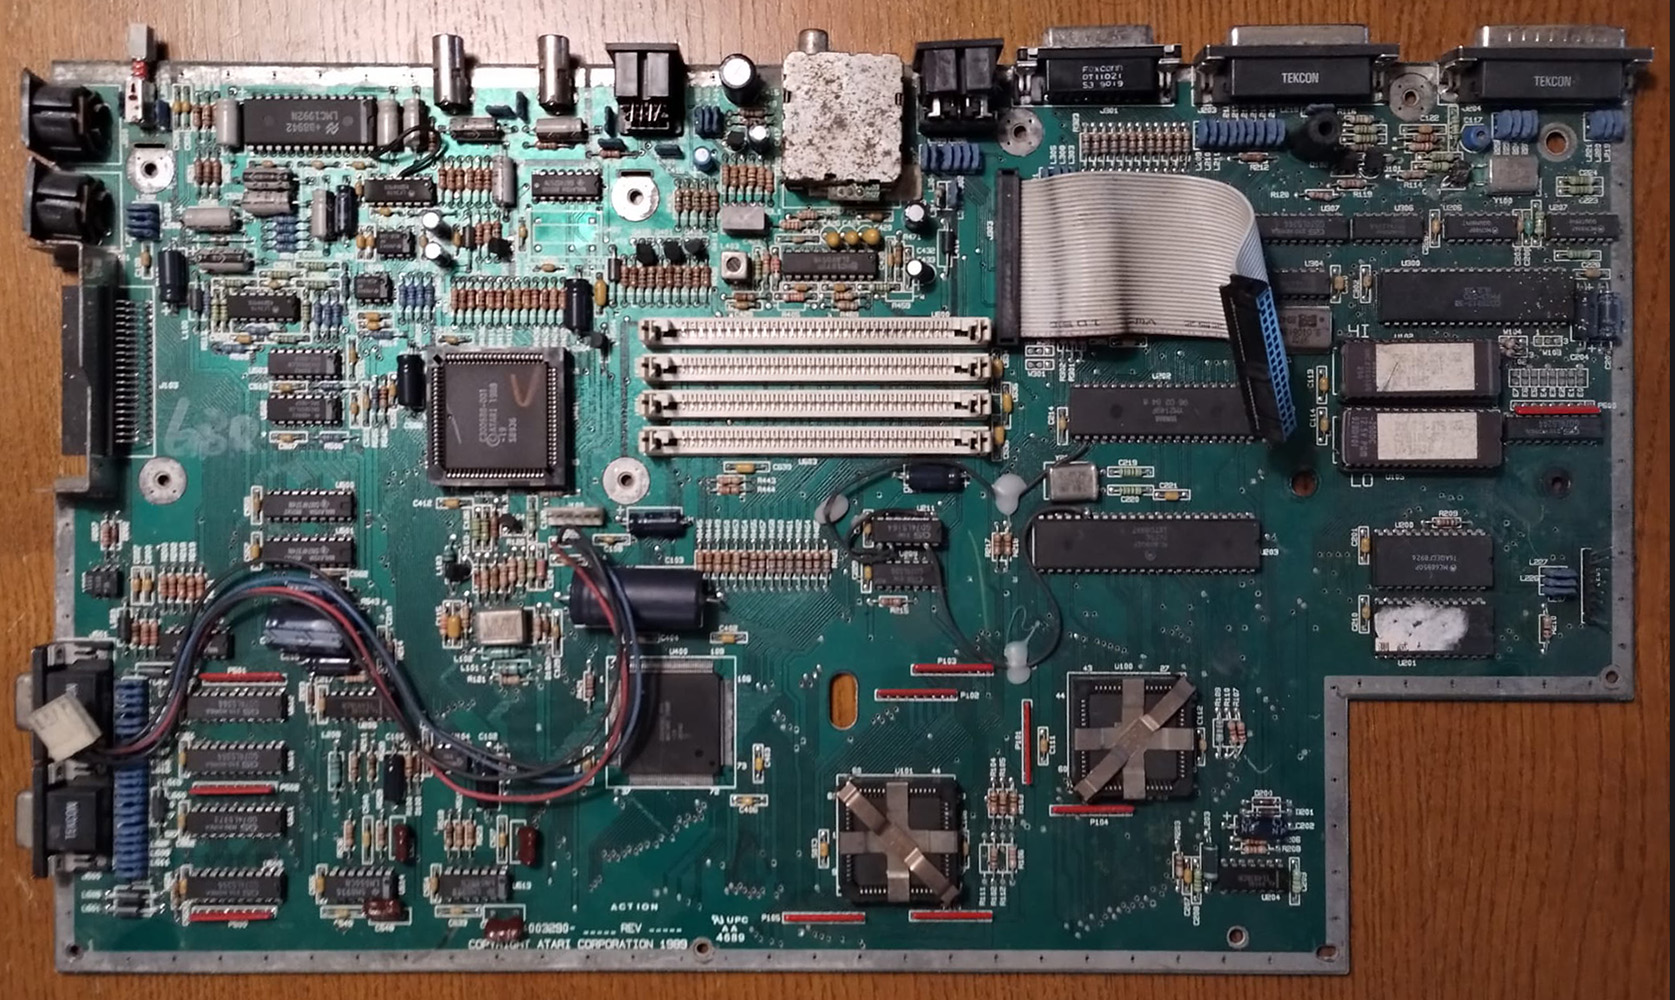
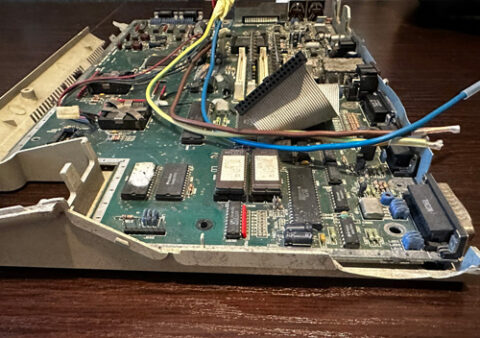
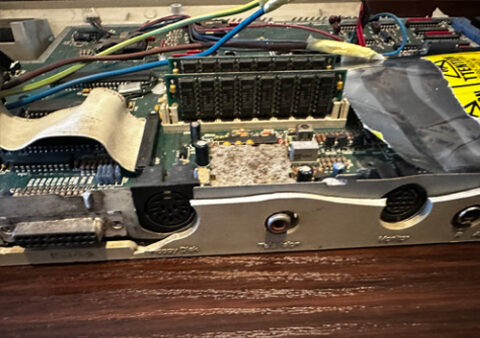
General view:
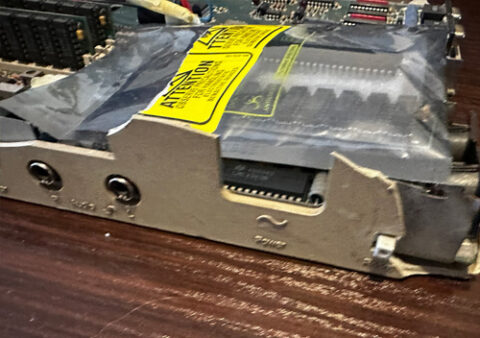
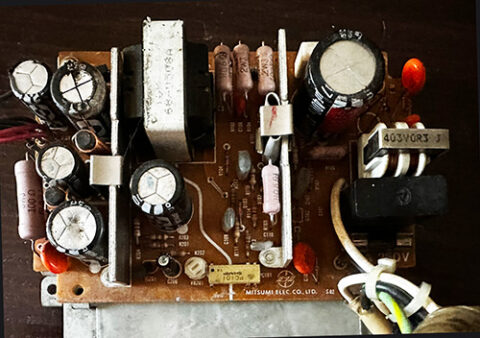
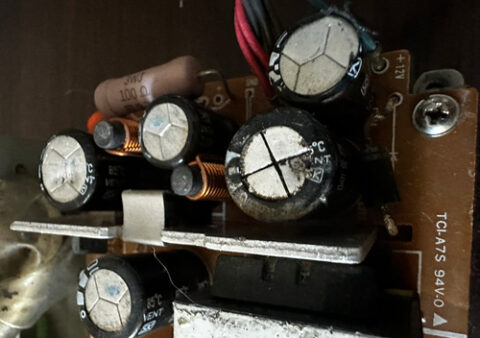
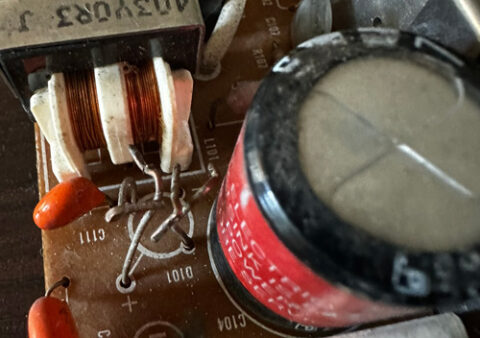
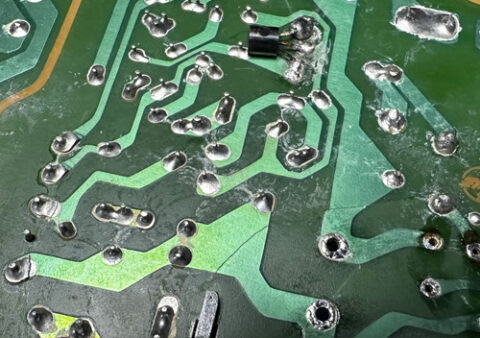
PSU:
Unfortunately, the power supply was in very bad condition. capacitors bore traces of screwdriver hits and after the bridge rectifier only wires remained .After soldering them, it turned out that the PCB is cracked in many places, the tracks are torn and many solder pads are broken.I decided to replace the PSU with another one because of the amount of damage.
Atari requires only two voltages +12V and +5V so I decided to use the PSU from Amiga to try to run the motherboard, and for this purpose I made a suitable adapter: amiga power connector – atari power connector.
First run:
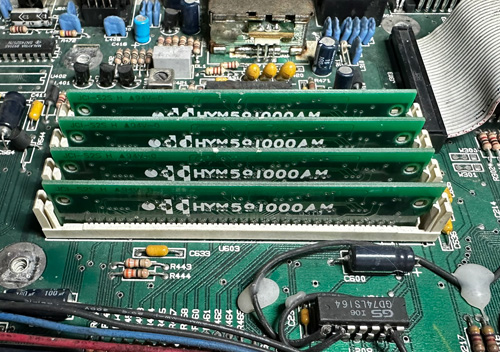
From the very beginning, Atari did as much to spite me as it could. After deep cleaning the motherboard and checking for short circuits, I decided to try to get the motherboard working. With the computer I received only three RAM modules of 256KB each. On three modules as expected the computer did not want to work. but after placing two RAM modules in the 1st and 3rd slots….
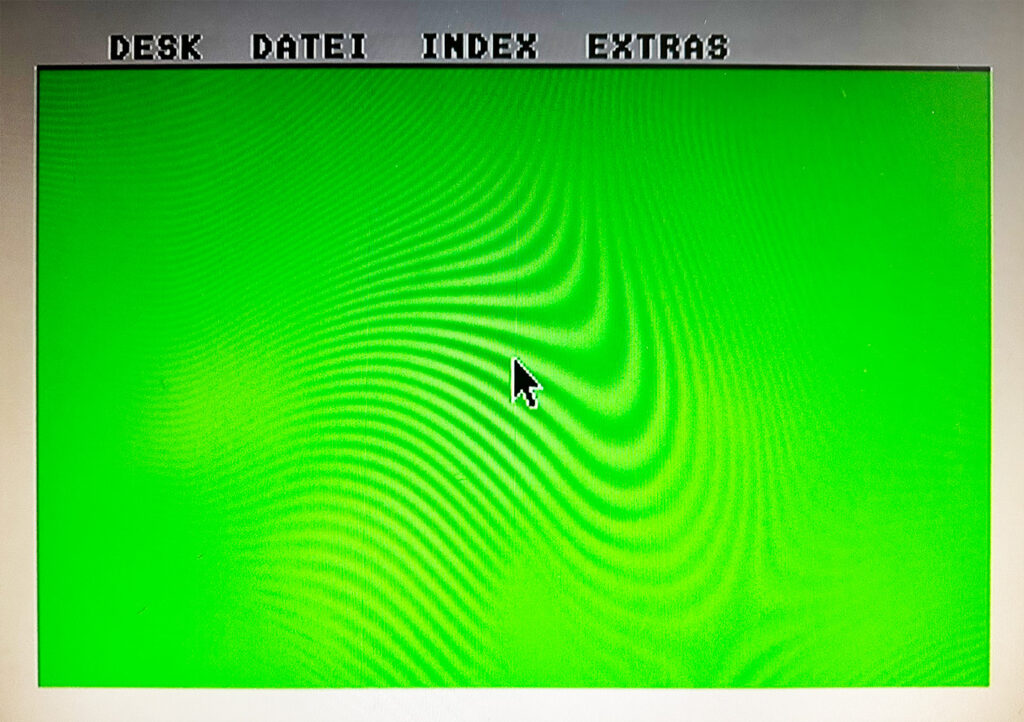
…the computer came to life 🙂
There was hope that the computer could be saved ….
Computer rebuilding / Upgrades:
In order to get the computer back to its original state, I had to complete quite a few parts:
– PSU – keyboard – floppy disk drive – case – 4MB RAM – TOS version 2.06 UK – several slots because they were either damaged or in poor condition – optional hard disk emulator – usb / ps2 mouse adapter – optional rgb2vga adapter for high resolution
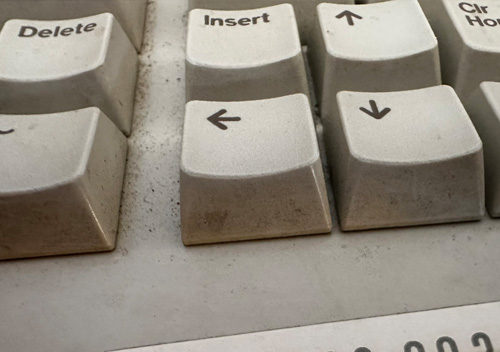
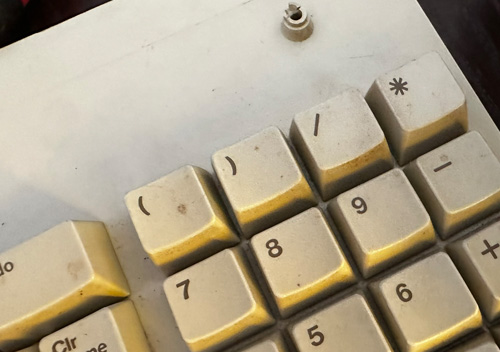
Keyboard:
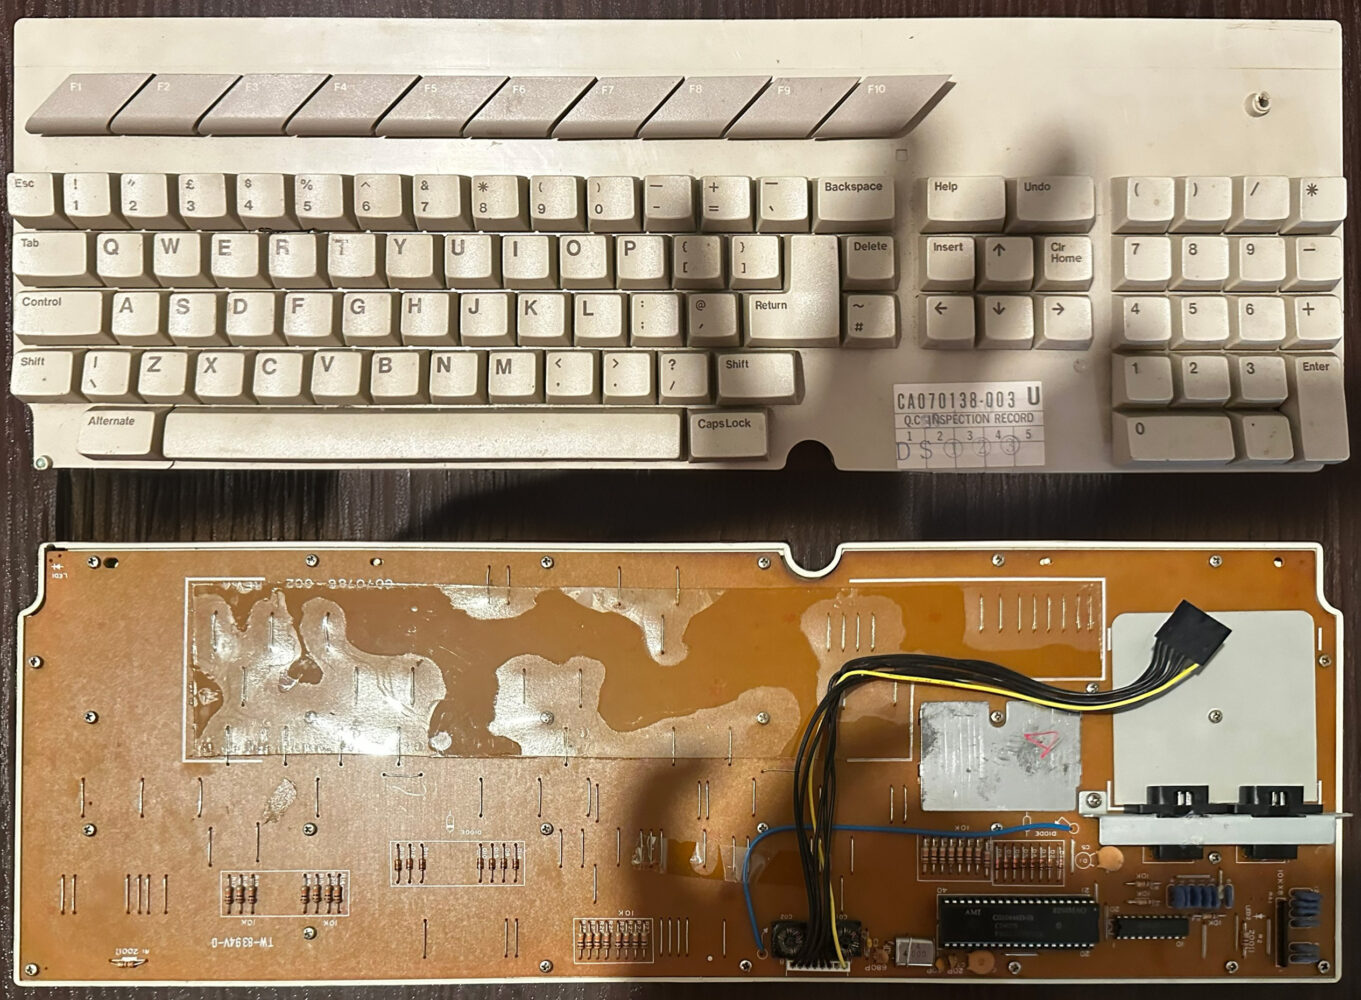
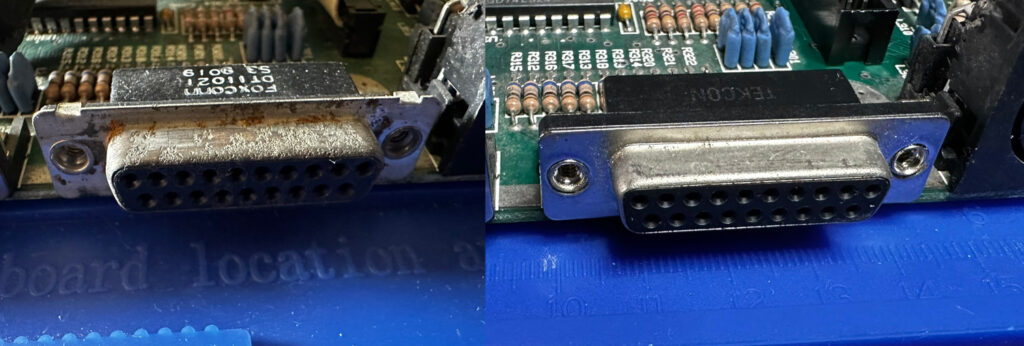
The keyboard is a completely separate story…. I purchased a keyboard in unknown condition in QWERTY layout. After connecting it to the computer, of course, it turned out that it does not work…. It could not be otherwise. It turned out that instead of the keyboard controller chip, someone inserted a TIA graphics chip from an Atari 2600…. I purchased the original HD6301V1P chip, the keyboard came to life but unfortunately only some of the keys worked. The DB9 connector of the mouse had all the solders broken off, the keyboard ribbon connector and several pads also needed to be soldered. The pads under the keys were thoroughly cleaned, the rubber bands also and the keyboard came to life. after cleaning it looks like new 🙂
Keyboard before cleaning
Keyboard before cleaning
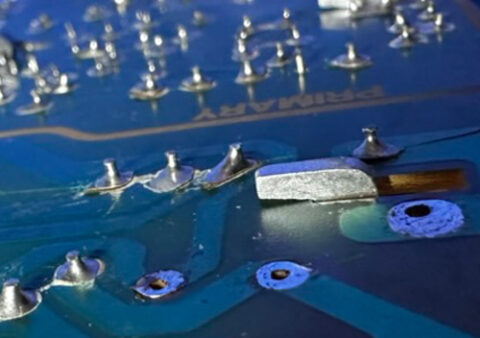
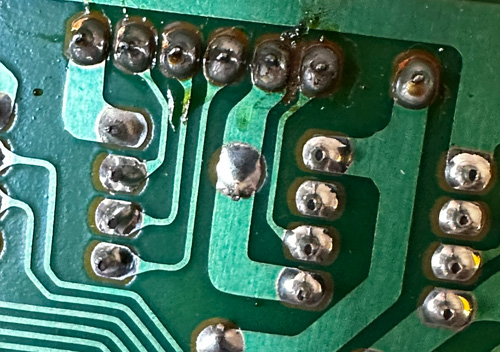
Soldering pads for re-soldering
Soldering pads for re-soldering
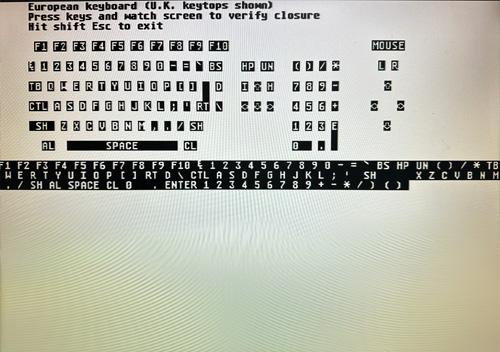
Test before
Test after
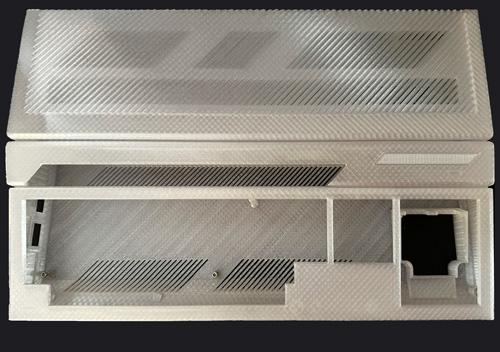
Case
Another problem to solve was the lack of housing. Getting an original case for the STE is a difficult task. Fortunately, we managed to find someone who makes very high quality cases made with 3D printing technology. The case looks great. The surprise was the included set of screws to screw on the motherboard and PSU.
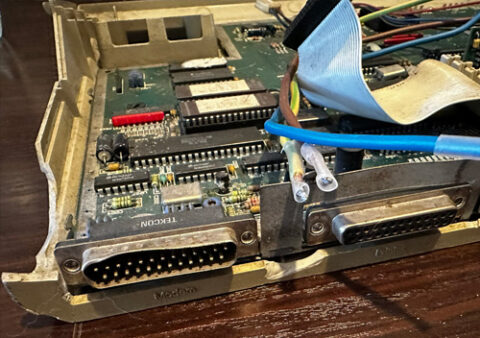
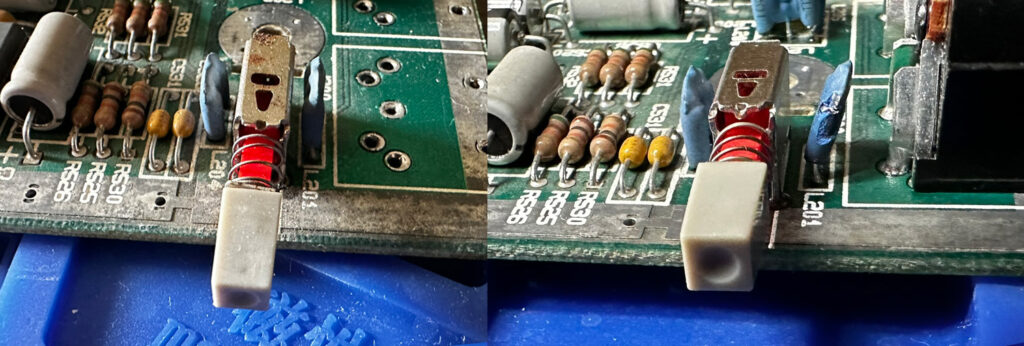
Sockets
The following have been replaced:
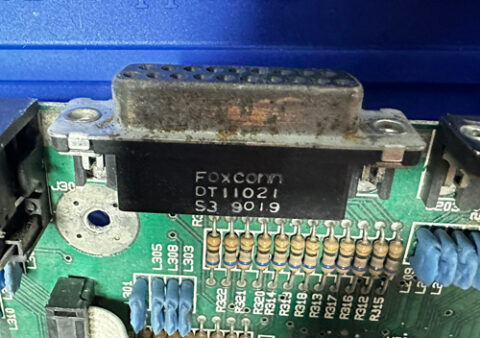
modem socket,
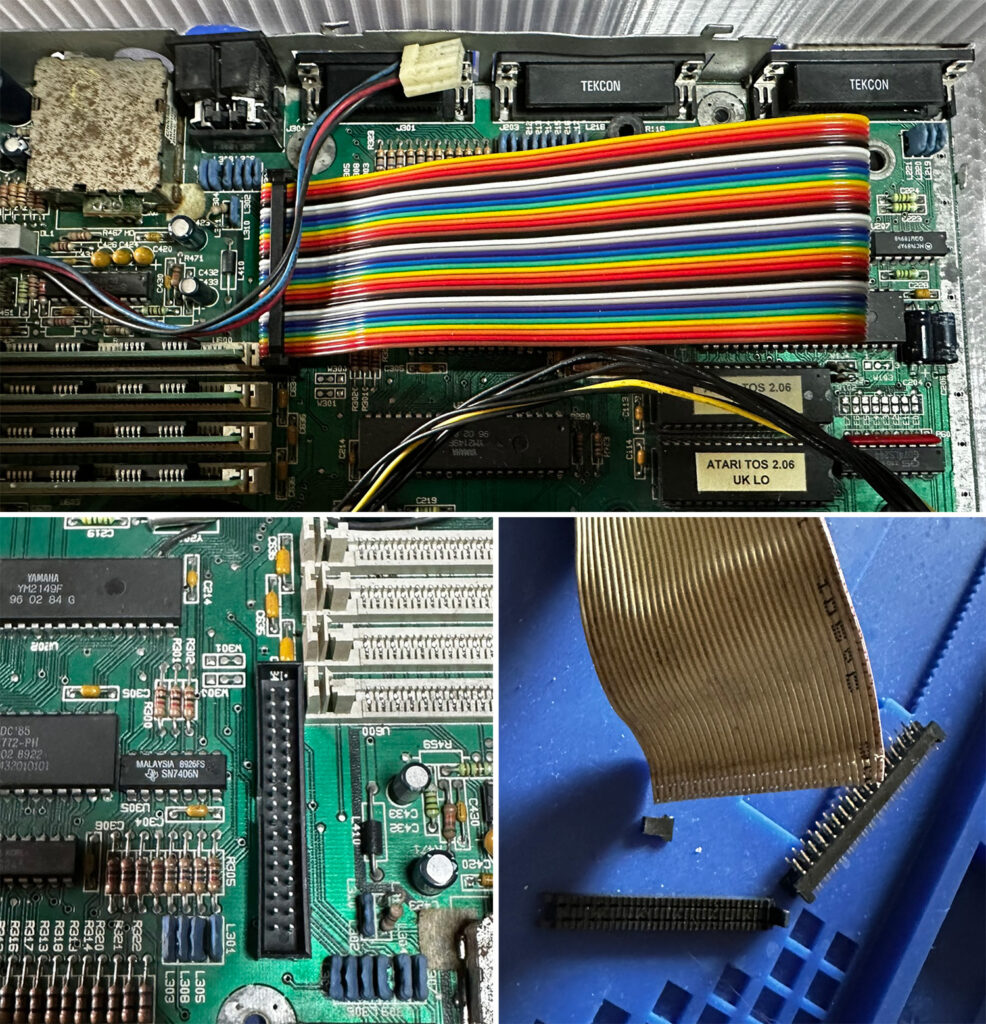
hdd socket,
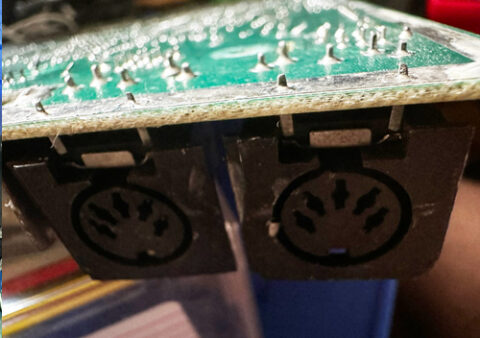
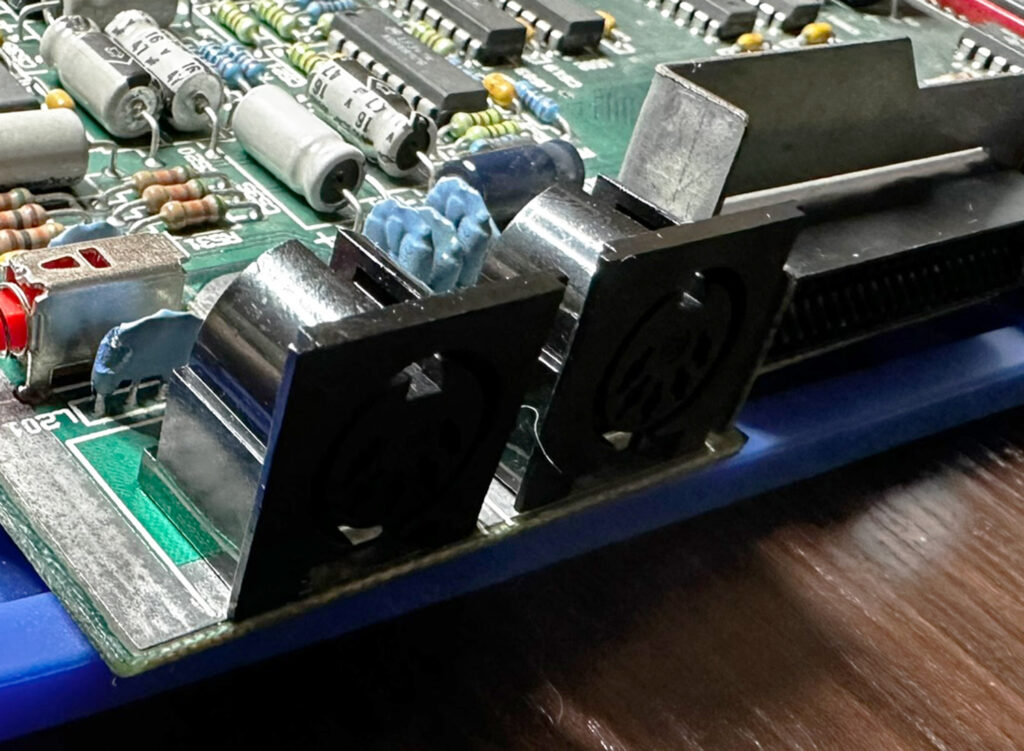
both midi sockets,
reset button,
fdd socket and actually soldered tape was replaced with a standard fdd connector + new tape.